How to sell using your Instagram feed
Seventy percent of shoppers find new product ideas on Instagram. By using Instagram’s shoppable posts, it's easier than ever to link directly to your posts to your E-Commerce website to drive sales and conversions.
In the UK you can use e-commerce platforms like Shopify, WooCommerce, BigCommerce and Ecwid amongst many others which means you probably won’t have to rebuild your website to use this great feature.
To get started, follow these steps.
Step 1. Create your Instagram business profile
Whether you’re creating a new Instagram account or using an existing personal one all you have to do is click on your profile and select Edit Profile. Then click on Switch to Professional account and follow the setup instructions.
As well as allowing you to use Instagram Shopping a professional account for your business will also give you greater insights into your content, activity and your audiences as well as giving you additional fields to fill to describe your business in more detail.
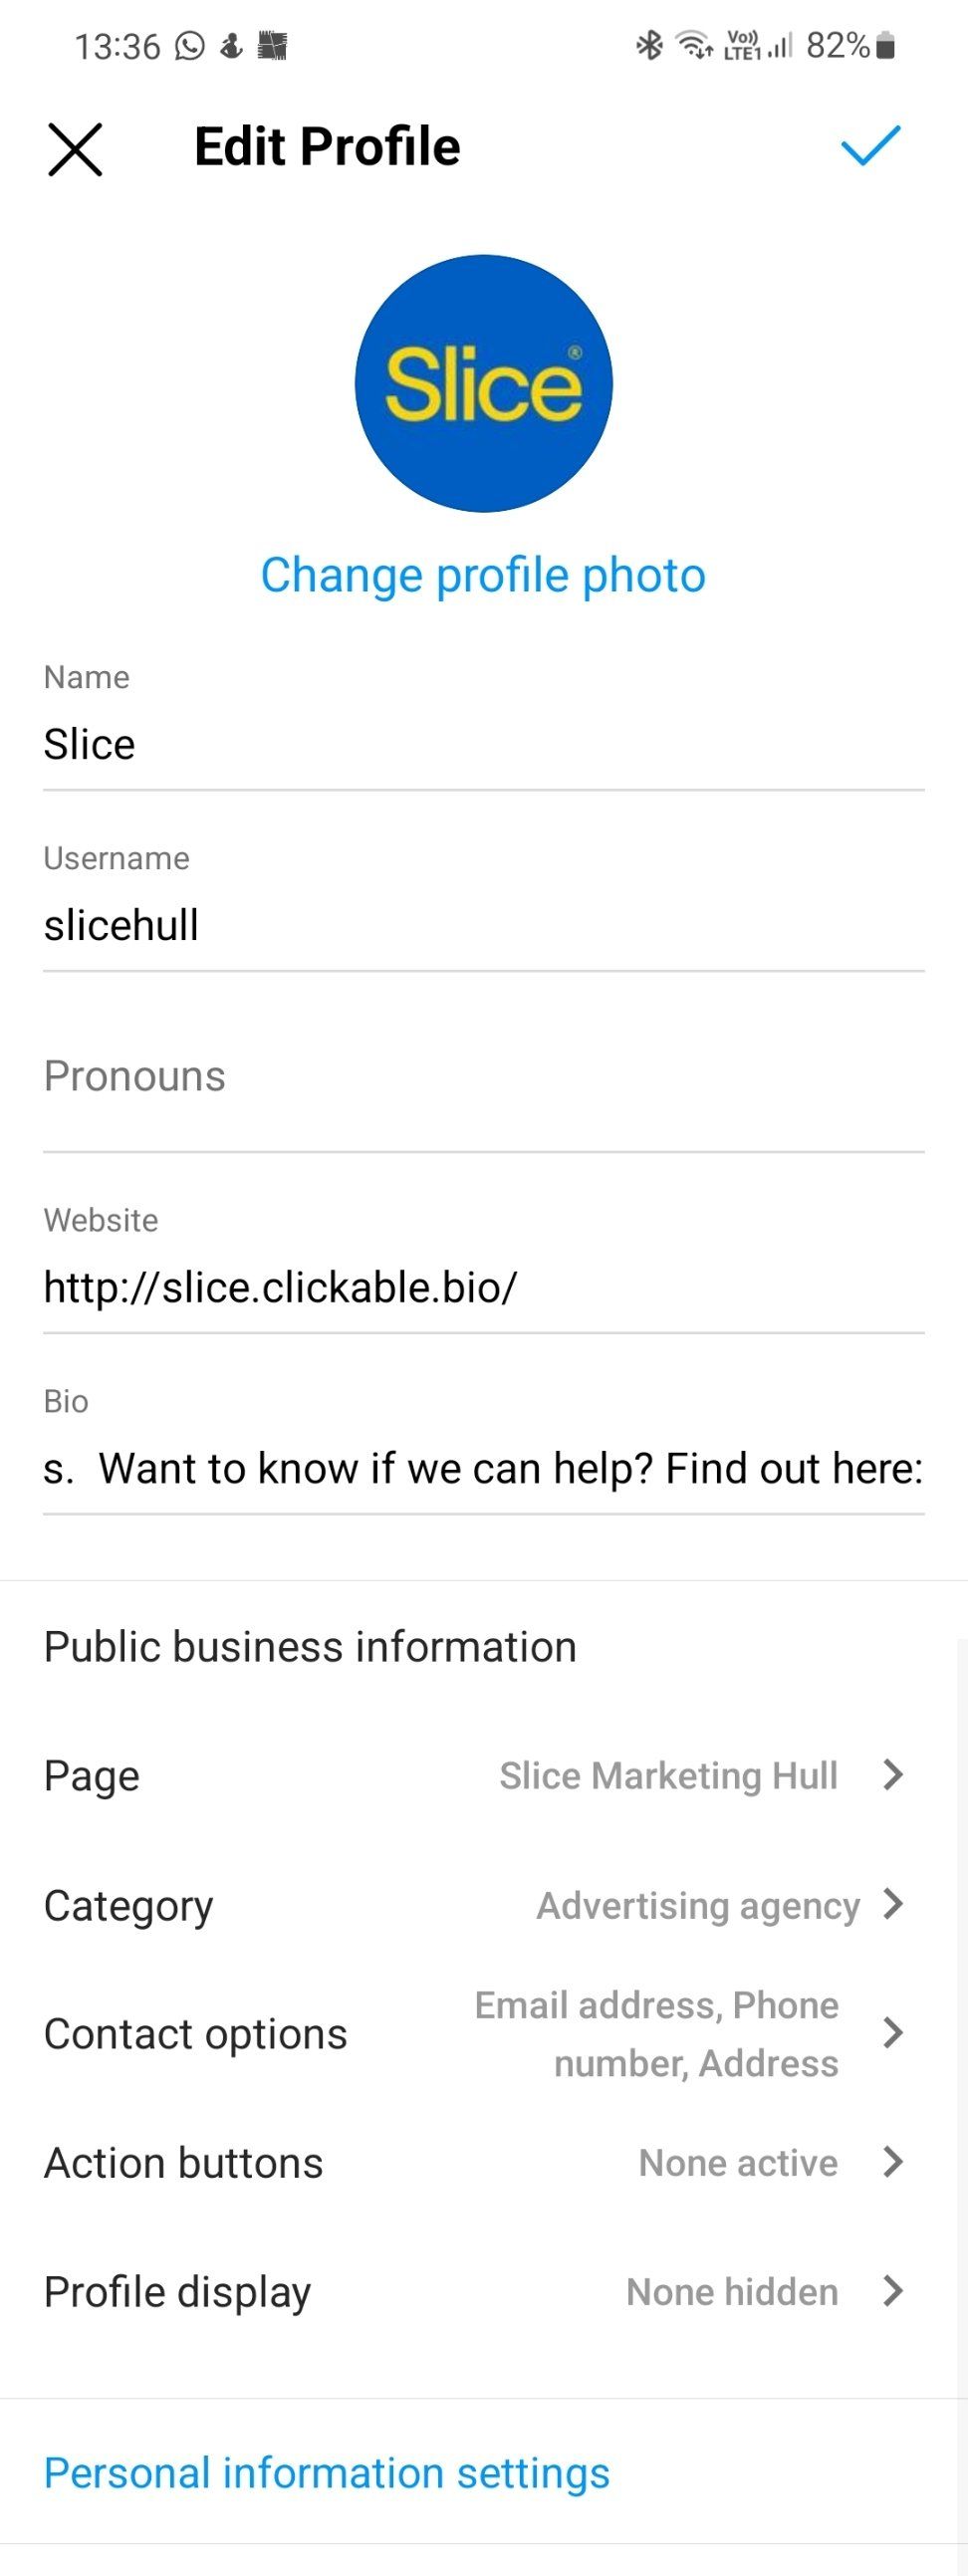
Step 2. Optimise your business profile
i) Make sure your username or “handle” is one that will be easy for your potential customers to find or tag. You can change your username even if you’ve switched from a personal to a professional account, just go to your bio, tap on Edit Profile and again on the Username field, tap in your new handle name, then click Done.
ii) Write a clear and concise bio about your business and fill out all the contact information fields available.
iii) Remember to upload a profile picture, you can use your company or brand logo.
iv) As a minimum add a link to your e-commerce website in your business profile but if you want to also have the flexibility to link individual posts to external links like a blog post or product page then you can use our Clickable.bio service which comes part of our free Social Marketing Express product.
v) If you’ve created a brand new Instagram account add five or six posts so that your followers will have some content to browse through.
vi) Connect your professional account to your existing Facebook page so you can easily access paid advertising for Instagram. Follow
this link to see how to do this.
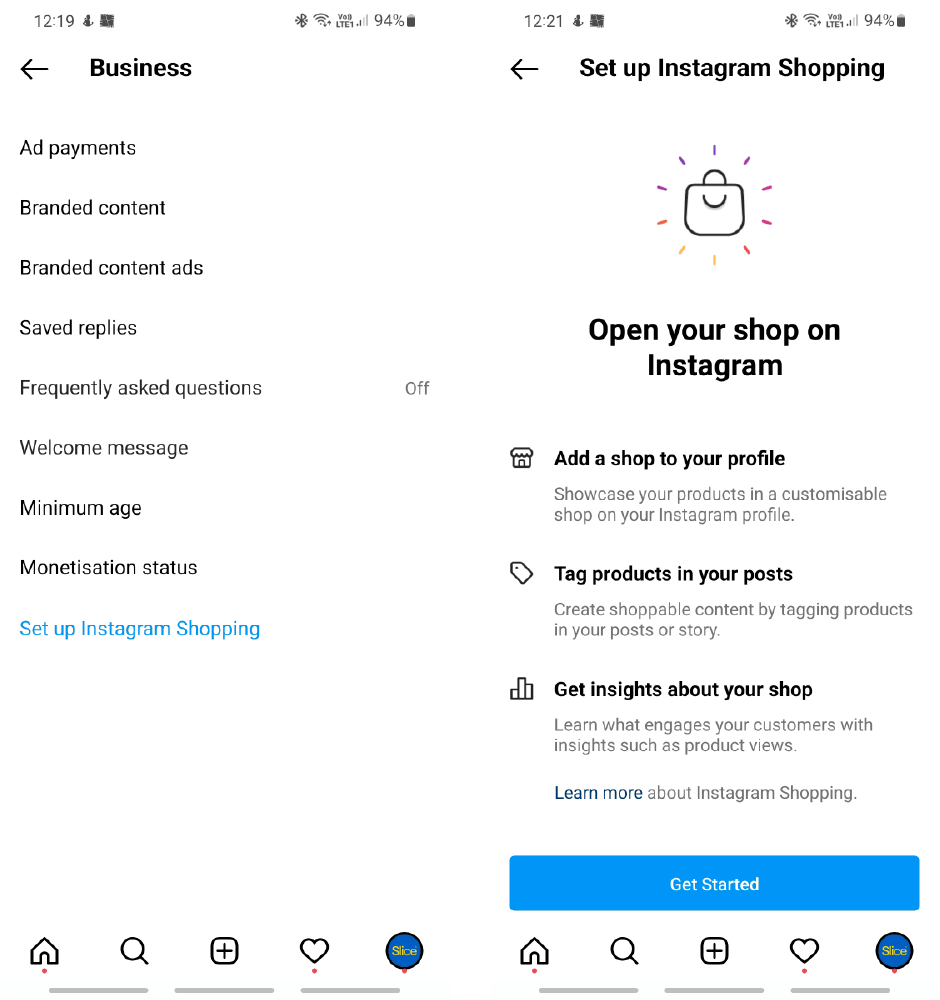
Step 3. Get Instagram Shopping approved
Businesses in the UK are unsurprisingly in one of the market regions supported by Instagram so the only other criteria to meet is to make sure you own your e-commerce website and that as outlined earlier, you switched your profile from a personal account to a professional one.
Once that’s confirmed then just go to your profile and access Settings > Business and tap on Set up Instagram Shopping.
If you're not using a e-commerce platform supported by Instagram Shopping then the team here at Slice can help sort that for you. Click here to get in touch.
Step 4. Add product links to your Stories
Product links in your Instagram Stories are added as a sticker from the top right corner of the screen. You will need to select the product sticker and then the matching product from your catalogue. You can change the colour of the text by tapping on the sticker.
A shopping sticker appears on your story post with the small Instagram shopping symbol before the text and Instagram will prompt potential customers to click on the link like what is show below.

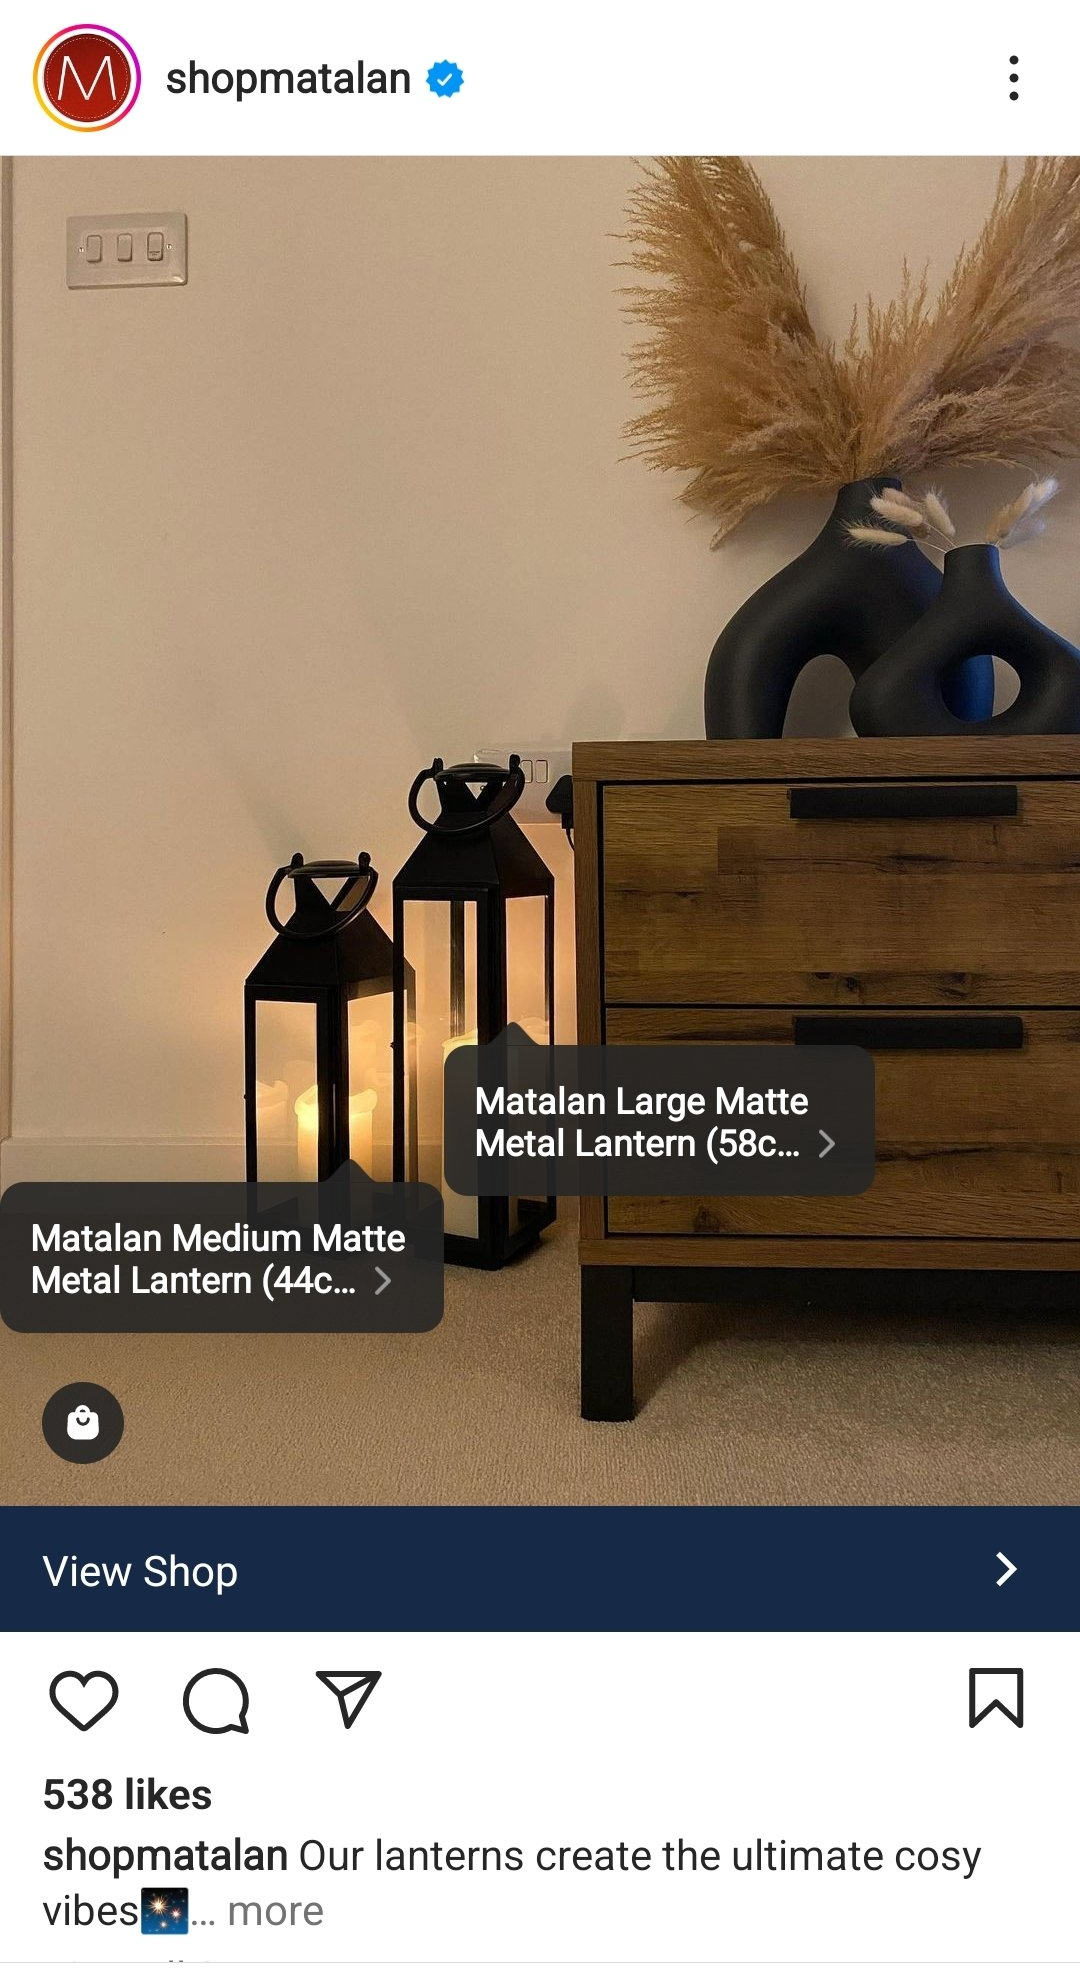
Step 5. Adding Shopping Tags
You’ve probably already encountered shopping tags on Instagram, over 130 million people tap on posts to reveal them every month!
To add a shopping tag to your post you just need to create a post as normal and then tap on Tag Products. Then just tap the photo, search for the product you want to link to and select it.
Step 6. Start posting!
And that’s it! You’re now set up to sell on Instagram. Remember to post regularly and use features such as reels to stimulate engagement with your potential customers.